While Kelsey is busy soaking up the last few rays on her Summer beach trip, I'm excited to show you around my little online home- Fairly Fabulous.
I'm no stranger to Tattered and Inked.
She hooked me with her amazing cabinet door welcome sign.
And Hello! How does she find such incredible 'roadside junk'?! Jealous? Um, yes- thanks for asking.
There are TONS of gorgeous pieces of glass like this at my grandparents house. Brilliant re-do!
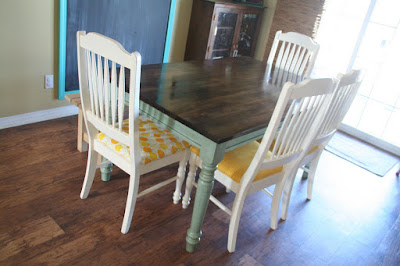
She is one of the bloggers who inspired me to finally tackle a few furniture refinishing projects in my house using spray paint!
Today I want to show you how to make a quick and easy felt flower. It's one of my favorite styles for my Fairly Fabulous Flower frames.
Start with your favorite color felt. Felt by the yard or the 8 1/2 x 11 inch craft sheets will work.
Cut yourself a strip. (I cut an 8 1/2 inch piece approx 1 inch wide for my frames)
Fold it in half and hot glue the ends together.
Now take your felt loop and begin making cuts on the unglued side to 'fringe' your strip.
When the entire piece is cut,
take a small dab of glue on one end of your glued side (check out the photo- it will make more sense)
Then begin rolling the loop back on itself.
See your flower starting to form?
Hot glue the bottom of your flower as you go until the entire strip is rolled.
Glue the end down to complete the flower.
I mix my felt Tabbies with rosettes to create my Rainbow frames!
What will you put your felt Tabbies on?
Be sure to stop by and visit Fairly Fabulous some time for more fun tutorials, refinishing projects, and fun fashion posts. ;)
Thanks again, Kelsey for letting me hang out on your blog while you soak up some sun!


Such pretty frames! I love the combination of shapes and textures in your flowers. :)
ReplyDelete