Pages

▼
Showing posts with label pillow tutorial. Show all posts

February 24, 2012

Painted Duck-Cloth Pillows

Ooh, it's starting to feel like Spring around here guys!!!

We've had blue skies, 70-degree weather and gorgeous sunshine the past couple days and I am in LOVE.

Completely ready for spraypaint, capris and sunglasses season :)
How 'bout you??

I've been working on several furniture redos that I'm dying to show you...so be on the look-out.
You can see some sneaks as to what they are on my facebook page.

Onto today's project.

I have a slight love affair with pillows...
I'm pretty sure I'm not the only one with that love affair though.

And these ones I actually made :)
No stuffing placemats this time!

Wanna see what I came up with??


I had fun :)

Supplies:
*A yard of Duck Cloth (I got contrasting colors- a beige and dark brown)
*Sewing machine
*Stuffing
*Acrylic Paint
*Foam Pounces
*Stencils of your choice


I love this stuff.

I first used it back when I did my kitchen stool makeover and I'm super impressed with how it holds up- especially since a four year old eats there regularly!!
I swear, we spilled a big amount of spaghetti sauce and it came up!
So you know it's amazing :)

I found mine at JoAnns fabric and the label calls it 'duck cloth' and it just feels like drop cloth material.

So I picked up the two colors in enough yardage to do a couple pillows.

I decided I wanted to glam them up a bit with some vintage-y type painting so I printed out some stencils.


Oh yes.
I still love the whole 'keep calm and carry on' slogan and used it to inspire my 'be calm' pillow.

All I did was print out the designs, cut them out with my exacto knife
(yes I STILL do this even though I've entered about a bajillion giveaways for a silhouette. Sigh. Someday...)

I then used regular old acrylic paint to stencil them on with a little round pouncer.
Works like a charm.
You can also pour a little fabric medium into your paint to make it a bit softer but these aren't really for laying on so it didn't really matter.


To make my "H" pillow, I painted the H on and then used a paper doily I had to get the circle imprint.
I just laid it on the cloth and pounced some paint into the design.

Added a little bit of pretty :)


Once I was done painting, I got the sewing machine out and whipped some pillows up :)

I love the contrasting brown on the back!!

Here's my 'be calm' one in all it's glory:


Isn't he cute?
I took some fine-grit sandpaper to the paint to rough it up a bit to give it more of a vintage feel.

And the same to my little "H" pillow:


I just love them!!
I always love having a fun pile of pillows and these are a fun addition :)


What do you think?
Need some more vintage pillow eye candy in your life??

&
Are you excited for Spring like me??

Pin It


post signature

Linking to:
Weekend Wrapup Party @ Tatertots and Jello
Sister Sunday @ Sisters of the Wild West
Saturday Seven @ Positively Splendid
Sundae Scoop @ I heart Naptime
Get Your Craft ON @ Today's Creative Blog


January 19, 2012

Placemat Pillows are baaaack!

I mean, are there really any cheaper, more awesome pillows out there than placemat pillows??

Ok, so I'm sure there are some more crazy cheap ideas out there but, seriously, these are my faves :)

I've shared a couple tutorials for some seasonal placemat pillows here and here with you guys.
But I love these guys even MORE because I can keep them out all. year. long .


I scored on some cheap blue and white placemats at Target last spring and about hopped up and down in the aisle when I saw them.
(ok...so maybe I did. You know you do too!)

I found them when they were being clearanced so I snatched up three of those babies.
They only had one of my favorite print- the trellis design but I snagged two of the flower ones.
Because three is always the perfect number, right?


I filled them the same way I did my other two sets of pillows.
Just ripped open a seam on the side, stuffed the pillow stuffing in and then sewed it closed.
Easy peasy lemon squeezy.


And they may or may not have been scrubbed several times already when sticky hands get a hold of them.
And they've come up clean every time :)


Here they are hanging out in the living room I've been posting about all week.
If you missed it's transformation, check those posts out here and here.

The big one in the corner was an actual pillow that was clearanced so I snatched him up too :)


So do you love placemat pillows as much as I do?
Made any lately??

Do tell :)

Oh and have I told you yet that next week is going to be ANOTHER week of printables,
Valentine's Day style?
Oh yes. Get excited.
Cuz I know I am!

Pin It

post signature

Linking to:


October 24, 2011

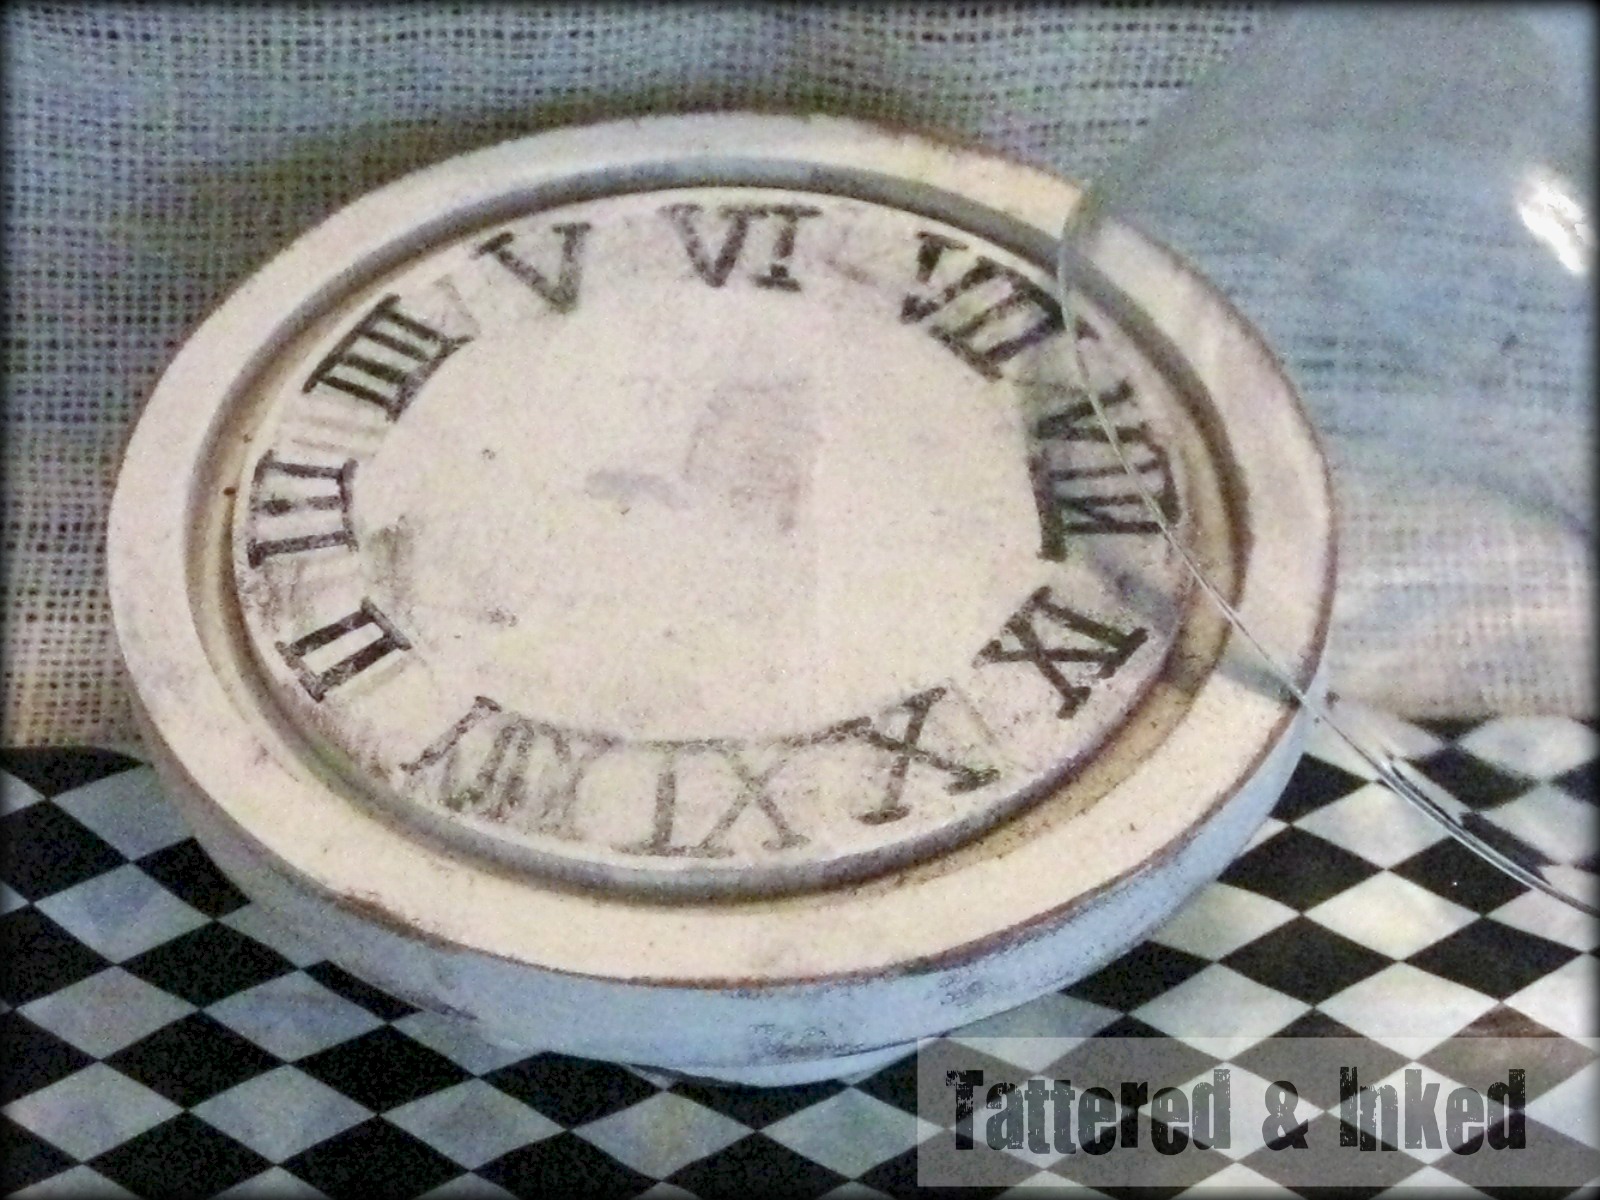
My Clock Cloche

Happy Monday my lovelies!

Is it okay to use happy and Monday in the same sentence???

This week is going to be crazy busy.
I have a 'to do' list about a million yards long and most of them are school-related.
I'd much rather it be crafty...

Although I do have a crafty checklist going too...
they just aren't as high priority as my non-fun one.
Boo.

So, remember last summer when everyone was crazy about cloches?
Those cute little things that were taking over thrift stores and bloggers started going crazy over?
I joined that cliche a little late but loved my white one I put together.

I snatched up another one this past spring just cuz you never know when you'll need one, right?
And I got to painting it this summer.

Here's the cutie I picked up along with the bottom of a candlestick that I was messing with and it, er, fell apart.
It may or may not have been provoked.
But I thought it'd be perfect with this guy.
See? Things happen for a reason :)


I painted them both with gloss white.
Doesn't the base look pretty all scuffed up?
I love the brass showing through.


The bottom of the cloche got painted white and scuffed up as well.


I saw this way cute idea somewhere...and obviously before Pinterest was becoming the thing to use.
Because I have no idea where I saw it.
So if you know, kindly guide me to it and I'll give proper credit.

I just loved the roman numerals.
I used the technique of printing it on regular printing paper, then tracing over the pack of it with pencil onto the wood.
It leaves enough ink residue to fill in with a black marker.
Easy :)


I lightly distressed it again with my mouse sander and scrubbed the dome top 'til it gleamed.

And he turned out so pretty, huh?


I love the vintage look it has now.
Much better than just a plain old cloche.


Oh...and the base is just glued on with hot glue.
There are stronger glues out there more suited for it...but it's held up so far so hot glue works too :)


I'm kinda digging it with the harlequin paper I pulled out for his photo shoot.


I'll give you a sneak peek as to where it ended up...
making friends with my photo blocks.


I can't wait to show you the whole deal-io but if you can't tell, my table is still kinda ug-lay.
So you'll be seeing it when I get the chance to beautify my table.
No promises on when that will be.

But it should be well worth it.
At least the picture in my head is :)
We shall see.

In the mean time, you can just look at the cute cloche!


Have you made any cute cloches?
Or used them in your decor lately?

I'd love to see them- head over to my Facebook page and share pictures or tips on using them there!!

Happy Monday lovelies- hope it's as great as a monday can be!!


post signature

Linking to: