Pages

December 22, 2014

Christmas Mantle 2014

I guess it's about time I show back up in blogland, huh? 

I figured that if nothing else this holiday season, I needed to hop in and share my Christmas mantle.

Because even with all the craziness and the loving on my sweet baby girl, I was able to get my mantle up!!

I mentioned before that the past few months have been so hectic and I just wanted a chance to enjoy our baby and get back into the routine of working again...so the blog had to be pushed to the back-burner. 
But I've thought about you guys so much and am yearning to get back into it all again.
I'm just not sure when I'll be able to return in full force like it was!!

But for now, we are eating up every single moment with Baby M and spending the holidays making memories with our three amazing kids. 
I have been crafting- though a lot more has been with the new embroidery machine that husby bought me as an early Christmas present.
So I've been sewing up a storm. 

But, regardless, I DID actually get my mantle and the rest of the house decorated the weekend after Thanksgiving. 
It's just taken me this long to get it sorted through, edited and posted :) 

So without further ado,
come join me in taking a peek into our holiday home.
Starting with my favorite- the mantle!


This year, my mantra was just to keep it simple.
I didn't have a lot of new projects planned and I really wanted to just pull a tiny bit of new and use a collection of the 'old' in new ways. 

My gold obsession continued on with the mantle and I so enjoyed layering deep golds with vibrant reds! 


The centerpiece was borrowed from last year's christmas mantle.
And while I cringed a tiny bit with using the main focal point again this year, 
I still loved it and knew that's all that really mattered :) 


The stockings were the 'new' part of this years decor. 
Since adding Baby M, we needed to have another stocking and since we had already gone eclectic last year, I just couldn't bring in a third style to the mix.
So I found these fun burlap stockings at Hobby Lobby and put my new machine to work and embroidered our names on them. 
Some fun red trim and layers of ribbon later, and they are the perfect addition this year!!
I love seeing all our names on them :) 


My salvaged tree sign came back out but I carefully took the 'merry' off so it wouldn't look repetitive against the 'merry' mirror. 
I also love my super easy reindeer wood sign that was made with supplies from the Dollar Store!!
Big score :) 


The sequined trees were DIY projects from several years ago that are still holding up wonderfully. I thought they added the perfect amount of height to the whole thing.
And that darling wooden tree was picked up at my most favorite place ever- Marshalls. 


I love to see how my style evolves from year to year. 
Sometimes, I'll look back on projects and realize they just don't fit me anymore.

But sometimes I can pull out something from several years back and still get just as excited as I was when I originally made it. 
Which is exactly how it is with my reindeer sign.
Can you believe it was one of my very first Christmas projects EVER. 
I still can't believe it's held up so well over the years.
But I was glad to give it a more up-front spot this year in the decor. 


The rag garland and lights have carried on for two years now. 
I just love the way they sparkle and shine when the lights are off in the house. 
Definitely my happy spot :) 


I've definitely been telling myself a lot this Christmas season that it's ok to not be able to do it all.
I'm very much of a 'do-er' personality and I love having lots of projects going on. 
But sometimes life demands a slow-down and I've been slowly coming to terms with being okay that for a season. 

We have plenty going on during the holiday season, especially with experiencing all of the firsts with Baby M, so slowing down in other areas- choosing to not take on so many projects, letting the blog become a ghost-town, etc, is a small price to pay to be able to enjoy all the wonderful moments that are going on right now. 

I hope you guys understand as I slowly make my way back into blog-world. 
I so love you guys and I still have a HUGE passion for creating, so don't think I'm completely running out on ya! 

I hope you guys have a wonderful Christmas season filled with friends, family & all kinds of joy!!!

For now, I'll leave you with one of my favorite things about decorating at Christmas-time,
gorgeous twinkling lights.
Nothing gives off the magic of Christmas better :) 


post signature


Pin It
Like me on Facebook. Follow me on Pinterest. Subscribe to my feed


November 20, 2014

"Merry Little Christmas" Door Hanging

So I wasn't making it up when I said I couldn't wait to share my most recent project with you guys!!

I'm one of those people who really doesn't like to start to decorate for Christmas until Thanksgiving has past...because I love fall decor so much.
But it's been really tough to hold out this year.
partly because the cold hit us so early and it just feels Christmas-y outside.
And because Christmas with a new baby in the house is so much fun and magical. 

There's something about that fat little baby cheeks, sweet little giggles and eyes filled with wonder at all the glittering lights and ornaments. 

So even though I haven't given into decorating yet, I did have to get something started for the Christmas season.
Of course, my mind always go towards my front door first.
And I wanted something big and bold to grace the front door for the holiday season.

And I think I hit the mark perfectly with my red & white nontraditional 'wreath'. 


Are you as head over heels about this beauty as I am??

I think it's mainly in how crisp the lettering turned out.
I'm usually a 'distressed finish' kinda gal which usually makes it perfectly fine when lines smudge and lettering gets a little wonky.
But for some reason I wasn't feeling the distressed vibe this time around (Gasp! I know!) and wanted a more clean line look.

So I took the challenge and love love love how it ended up. 

I'll give you a run-through on how I did it but I'll tell you that this isn't a quick and dirty project. 
It took several hours to get all the steps done and carefully hand-paint it.
But it's so worth it :) 

Supplies: 
*Desired wood (I used three pieces of scraps I had lying around) 
*Paint in color of your choices
*Screws/drill to put it together
*Letters or Silhouette & vinyl
*Painter's Tape 
*Burlap Ribbon
*JIngle Bells


First things first, you need a pattern to go off of for your wood piece. 
I knew I wanted a curvy, long piece to hang down the door. 

Unless you're good at free-handing, you can find all kinds of fun patterns when you search for them. 
I uploaded my pattern to blockposter.com to print it out as big as I wanted.
It slices your image into several sheets of paper to blow it up.
Then I cut the shape, taped it together and used that template to draw it onto my wood.

Takes a few steps but so worth it to have such a gorgeous shape to work with. 
I traced it on with Sharpie and then used my jigsaw to cut my shape out of the wood.


Now...if you're buying supplies for your project you can buy lightweight pine from Lowes or Home Depot in the size that you're wanting your shape to be in.
I didn't want to spend any money on mine so I used scraps I had lying around.
Mine is pretty darn heavy.
I used three pieces of MDF, cut them out and then hubby used two thin scrap pieces of wood to attach them together on the back of them.
Worked beautifully but does add extra weight to the whole thing. 

After cutting and attaching the pieces together, I gave them a good sanding to make the edges nice and smooth. 

If you're wanting to hang your sign on the door, drill a large hole at the top of the sign with a drill bit so that we can ribbon later for it to hang from. 


Next step is to start painting! 
I was lucky and my boards were all white from the get-go.
I still give it a light coat of white to cover any knicks and imperfections.
If you're working with bare wood, paint your piece the background color you want. 

Then let your imagination go wild!! 

I knew I wanted some graphic punches on either end of the boards so I taped off the bottom and tops and used painters tape to create a fun striped pattern on both ends. 


Use foam pouncers to stencil your paint on- I used regular acrylic craft paint. 
I painted on two coats and then peeled my tape back. 
I touched up any spots that didn't look perfect with a small paintbrush. 

After painting on my red stripes, I taped off a stripe above and below the middle rectangular area and painted it black to outline the section I was putting wording on. 

Next came the fun (and scary part!) 


I wanted some gorgeous lettering to really make everything stand out. 
I designed my saying in my Silhouette software and then set out to cut it out.

I didn't have red and black vinyl- that would have made this step go a lot easier!
So I used white vinyl and used the negative part of it to create a stencil. 
I love love love transfer vinyl for taking my perfectly lined up words and transferring them to my wood. 
Couldnt' have done it without it. 

After transferring my vinyl stencil to the wood, I used my foam pouncer to paint the words in black and red acrylic paint. 
Let dry for a little bit and then carefully peel away your vinyl. 

And then gasp in relief and excitement when you see those gorgeous letters pop out!!


I did take a small paintbrush and touch up a few areas that were lifted or messed up a bit from removing the vinyl.

But no major mishaps- praise the Lord!!


Another huge first (besides not distressing my sign) was creating a burlap bow for the top.
I'm not a big bow person but it just felt right for this project so I used some wired burlap ribbon I had on hand went at it. 

I'm actually pretty happy with how it turned out :) 


I added in some glittery gold ribbon and some jingle bells for a little extra fun. 

After it was all put together, I couldn't help but squeal a little from how perfect it turned out!!
I'm so beyond excited that I was able to get exactly what I was envisioning in my head out for a fun Christmas sign!!


I can't wait to actually hang it up and keep it up for the holidays!!

Hope you guys are having a great week and have an amazing Thanksgiving next week!!! 


post signature


Pin It

November 19, 2014

A Little Life Update


It's been a little while guys :) 

I thought I needed to pop in and at least let you get a little update on what's been going on the past little bit. 

I've enjoyed so much having a little down-time away from the computer and snuggling up with baby girl. 
So I've kept it that way for the past three months! 


I was so very blessed and my new job still let me have 10 weeks off before returning to work so I soaked in every single day of those 10 weeks with baby girl. 
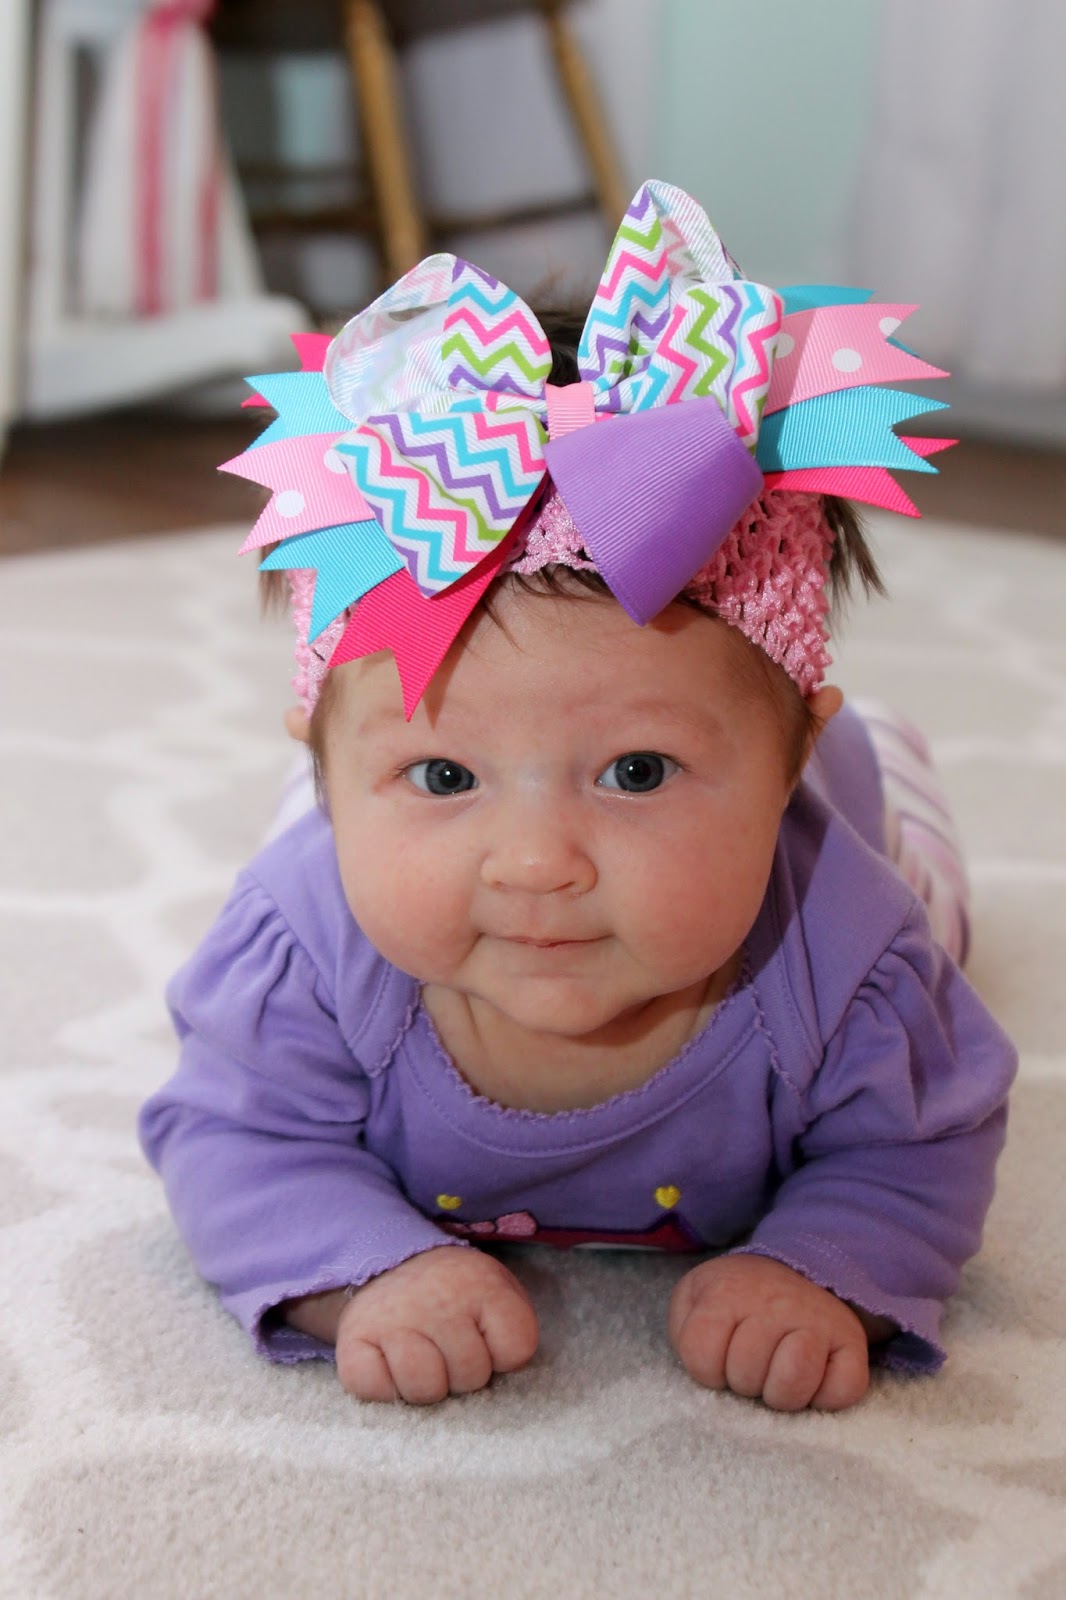
She's already grown so much, it's almost sad to me that she doesn't even look like a sweet newborn anymore. 


Me and hubby are both obsessed with photography and she is the perfect little subject for so many fun photo shoots.
She's had several a week with all her cute outfits & of course with a fall-inspired pumpkin one :) 


Brother & sister absolutely love her and love to make silly faces to her. 
Brother pretends he doesn't adore having a baby sister, but his actions say otherwise.
He has to get a goodnight kiss in to sister no matter what. 

And one of my most favorite things is just watching my sweet hubby be an amazing daddy.
I already knew how wonderful he was but seeing him with a newborn (our baby!) takes things to a totally different level. 
It absolutely steals my  heart to see him talk to her, rock her and come alongside me everyday to love on her!


She has such a spunky personality already and gives the absolute best facial expressions!
They can change a mile a minute and we try to capture as many of them as we can. 

She loves bright colors, her kitty cats and watching older brother & sister play and laugh.
She's trying her hardest to get some good laughs out and we love hearing her sweet giggles. 


And, oh my goodness, how fun is it to dress little girls??
Between leggings, mini dresses, shoes, headbands, bows & all the other amazingly cute miniature things...it's absolutely my favorite part of the day to go into her closet to find her something darling to wear.
We've been trying hard to let her wear everything at least once :)
This mommy loves her baby clothes!!


The number one comment we get with baby girl is 'look at that hair!'. 
We adore her gorgeous dark locks & it's even cuter when it's wet at bathtime and it curls right up.
It hasn't started thinning or falling out at all and just gets longer every day.
It makes me hate putting hats on her because she just doesn't look like her little self without her hair sticking up everywhere!! 


She is just the best little baby.
She sleeps well, eats like a champ and adds so much to our little family.
I can't imagine how life could be complete without her.

So between loving on her, taking care of the rest of my family and returning to work a couple weeks ago, the blog has definitely faded a bit from my everyday thoughts.

I still love you guys so much and crafting/painting/DIY is still my heart's passion.
But sometimes you have to let life take you into different seasons and right now that season is my sweet kids. 

I just can't be everything and when I try to take it all on, something suffers. 
So in an effort to not let that be my family (or my sanity), I haven't kept up with posting things every week.
I post when I can...and I absolutely still LOVE to do it. 

I have a gorgeous christmas project to share with you soon!
So I'll be in and out this holiday season.

Love you, sweet readers, and I'll be checking in again soon!!


post signature

Like me on Facebook. Follow me on Pinterest. Subscribe to my feed

Pin It


September 29, 2014

'Blessed' Picture Blocks

I've been slowly but surely finishing up a few fall projects for around the house lately. 
Husby was sweet enough to get out all my fall decor boxes and I spent last week making the house look nice & cozy for fall :) 

I shared my fall mantle last week with you guys & besides the mantle, I only really decorated a few other key areas in the house- the foyer table, my faux mantle & a couple other pieces set out on random tables & shelves.
I didn't feel like going too crazy and getting everything out this year. 
I figure keeping up with a newborn is a good excuse to not go all out right now!! 

One project I wanted to do were some picture blocks. 
I intended to use them for my mantle but then ended up not liking how they looked up there once they were done.
So they ended up being a gorgeous centerpiece for the dining room table. 


Aren't they fun? 
I love how they turned out and they were the perfect way to display some new photos from this past year. 
Because we definitely feel so blessed from having our sweet Baby M :) 

Excuse the quality of these next few pictures- they were all taken on my Iphone. 
Gotta do what you gotta do!

So the blocks all started like this...


These are the scrap wood blocks that hubby found on the side of the road and brought home for me. 
He knows the way to my heart :) 

I grabbed seven of them and laid them out to decide how I wanted them to look.
I didn't care that they were uneven sizes- I wanted the staggered look.
But if you're more OCD than me, run them through a table saw to make them all the same size. 


I found all the pictures I wanted to use on the blocks and made them black and white. 
Since my printer has decided it hates printing good quality pictures, I sent them to walmart to get printed.
Don't you love when they ask you for a copyright release for pictures that YOU took? 
Always makes me half frustrated and half proud that they are considered professional enough to get a release. Ha. 

My blocks were the perfect size to fit 5x7s so that's what I printed. 


After laying the pictures out on the blocks, I trimmed them a bit so the blocks would be framing them. 
The white small letters are from Hobby Lobby. 

After placing everything out, I gave the blocks a good sanding to smooth them down then stained them first with dark walnut stain. 


After the stain dried, I dry-brushed them with my favorite enamel white paint so that the stain and grain of the wood would still show through. 
No sanding necessary since I didn't paint thick layers on them. 


After they were all dry, I adhered my pictures to the blocks and then hot-glued each of the letters into the corner of the blocks. 
I spraypainted them gold to bring a pop of my favorite fall color in :) 


I love seeing all the sweet faces of the ones I love most :) 
I really just needed a great excuse to print some pictures of baby M out and have them up! 


The table still looked a little bare with just the blocks on them so I whipped up an easy table runner with some fabric I found at JoAnns.
Me & my sewing machine have finally come to a truce :) 
I added some glittery pumpkins & our hardware store pumpkins we made last year all around the blocks. 


I'm in love with how these turned out & love seeing those sweet faces every time I come into the dining room. 

What do you guys think? 
It's such a fun & easy way to display pictures! 

On another fun note, Hubby gave me an early Christmas gift of a new embroidery/sewing machine so I'm going crazy learning the ins & outs of that! 
I hope to have a few pieces done soon to share :) 
Hope you guys are having a great week! 


post signature

Pin It
Like me on Facebook. Follow me on Pinterest. Subscribe to my feed


September 22, 2014

Fall Mantle 2014


It's that time again where I get to pull out all my fall decor and bring a little bit of fall into the house!! 
Eek!
Definitely my favorite season of the year to decorate for :)
I can't get enough of it. 

I just wish we would get a bit more consistent fall weather around here. 

My goal this year was to keep it simple and only decorate a few key areas in the house- so I wouldn't completely overwhelm myself. 

The mantle was definitely a must when it came to deciding what would get a fall makeover. 

I'm in love with how it all turned out!!


It's safe to say that I'm still in love with gold this fall. 
I was still so in love with my shim chalkboard that I pulled it out again this year. 

I used a mix of old things & a couple new items to layer it all together.
I'm such a word person so I love all the quotes & printables mixed in.  


I love to switch up my pieces each year and a super easy way to add in something new is by switching out printables. 
I found the 'come thou fount' printable here and loved it adding it into my decor since it's one of my favorite songs.
Our family theme this year is definitely 'blessed' as we have felt so incredibly blessed this past year with celebrating adding our sweet baby M into the family. 


I love the splash of blue & orange mixed together in my frame so it came back again this year. 
Another easy way to change things up is using different fabrics as a background. 
I'm still crazy about orange and so it stayed this year :) 
And all it took was covering the cardboard insert from the frame with a scrap piece of fabric. 

The 'Let Your Heart Sing' print was a Hobby Lobby find from this year.
They have a whole line of gold framed quotes and I. am. obsessed. 
I heart all of them big time. 


The gold & white striped board was a piece I made last year and never got around to sharing. 
I love the mix of distressed gold and white with the gold rope wrapped around the bottom. 
You can find the 'Give Thanks with a Grateful Heart' as a free printable that I shared last year.  


Of course the star of the mantel is the gorgeous shim chalkboard that I'm in love with. 
This year, I traded out a fall quote for a simple burlap & gold leaf wreath that I threw together a couple weeks ago. 
It's one of the simplest wreaths I've ever made and I love how subtle and glam it is. 
I added a little chalk art and a gold leaf garland strung across the top. 


Isn't the burlap + shim combination gorgeous together? 
I love all the texture it brings to the very center of the mantle. 

The cute pumpkin sitting on the wood piece was a Hobby Lobby find a few years ago. 
The wood piece was a gorgeous part of a branch that hubby snatched from the side of the road.
I had him cut several slices from it and then sanded them down to be beautifully smooth.
I love the color & grain of the wood. 


Can you tell that I love me some natural wood thrown into decor?
These pieces I use for almost every season- they were cut from a tree in my parent's yard and these little pieces are the perfect size to add height to so many fun displays. 

I added a cute ruffle pumpkin & a painted mason jar to the mix.  


I snuck in a couple of my DIY Banister Candlesticks that I made last year to add in some height on either end of the mantle. 
I love these guys! 

So there you have it- some old, some new & a lot of gorgeous fall colors!! 

Have you started decorating for fall yet? 


..............................................................................................

Check out last year's fall mantel here & for more fall DIY inspiration, check out the tutorials below!


post signature